


Hand embroidery is easy to learn. Or so they say. But, if you ask me, every beginning is difficult. If you want to give it a try, it might be challenging to get things going. There are so many different approaches and tutorials about embroidery tools, supplies, and stitching guides.
Truth be told, most of them are telling the truth, but quite often they are not simple and understandable as they should be. So, I’ll try to make things clear and straightforward.
By the way, I will be talking about hand embroidery today. You can also use embroidery machines, but it is a whole different craft. Embroidery machines allow you to work much faster, with consistent and uniform results. However, your creativity and skills are limited with a machine. All you have to do is load a premade pattern into the machine. It is great to produce larger quantities of items with the same design, especially if that’s something you do for a living. There are a few more upsides of machine embroidery but I’ll leave it for another occasion.
Contents
Why Should I Start Embroidering?
There are many reasons why people decide to embrace the art of embroidery. If you have some second thoughts, here are some of the reasons to persevere and learn this ancient craft.
- It’s affordable. Embroidering is a low-cost hobby. You can really start it without major investments. A needle, a thread, and a piece of fabric and you’re good to go.
- Easy to learn. You just need to learn a couple of simple stitches and you can create art. As time goes by, you’ll upgrade your patterns and include some new stitches. So, it’s really not difficult. Your imagination and patience will be your greatest embroidery tools and skills.
- It is applicable. There are so many hobbies that don’t have a purpose. Other than keeping you occupied and happy, that is. While I support every hobby that helps you feel better in any way, I prefer useful ones. When I say ‘useful’, I mean that it has a practical value. I consider embroidery a form of art, but you can use it to decorate your clothes, towels, and other household items.
- Personalized and unique look. The greatest weakness of hand embroidery is its greatest strength at the same time. Each design is pretty much unique and personalized. There’s a special kind of pride and satisfaction when you create something with your own hands.
- It relieves stress. This is not specific to embroidery. All manual hobbies reduce stress and have some soothing effects. Needlework is one of the best ways to achieve this. Just don’t do it if your cat is around! 😅
- You can take it anywhere. There aren’t too many hobbies you can enjoy almost anywhere. Be it on a bus or airplane, at the beach, or in a hotel room, you can take it with you and enjoy it whenever you feel like embroidering.
Embroidery Tools & Supplies for Beginners
As I have already said, you don’t need anything other than a needle, a thread, and a piece of fabric to start embroidering.
However, I would put a couple of items in the mix to make your first steps easy and smooth. So, here’s a list straight away, or you can scroll down to browse and read item by item.
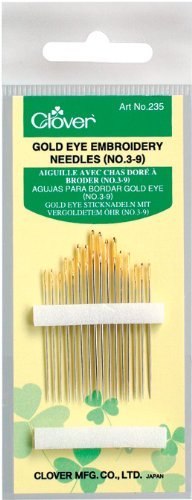


Embroidery Needles

You can use any needle that can draw a thread through fabric, but typically, embroiders use embroidery needles. They are also known as crewel needles. These needles are pretty much the same as ordinary sharp needles except they have a long eye. It allows you to use thicker yarn or multiple threads, easier. As you hone your skill, you may add some other needles for specific projects, but crewel needles are the best, to begin with.
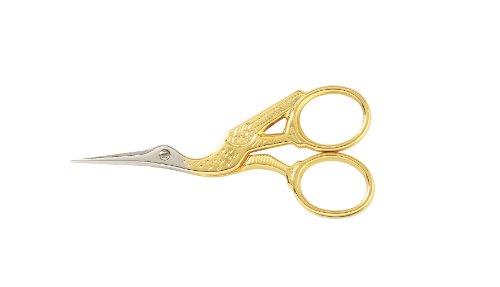
Embroidery Scissors
Embroidery scissors are small and sharp. Both tips and blades are sharp and rather short. These characteristics allow you to get close to your work and make clean cuts. They are also easier to control and manipulate. It’s not that it really matters, but I find those bird-like designs simply adorable.
Don’t use them for cutting paper or other things as they will get dull quickly.
Hoops and Frames
An embroidery hoop holds fabric taut. It’s not a must, and actually some people prefer not to use hoops. However, hoops and frames make things much easier for beginners. Without them, it is more difficult to avoid puckering and your embroidery may come out warped. Plastic and affordable wooden hoops are common choices for novices.
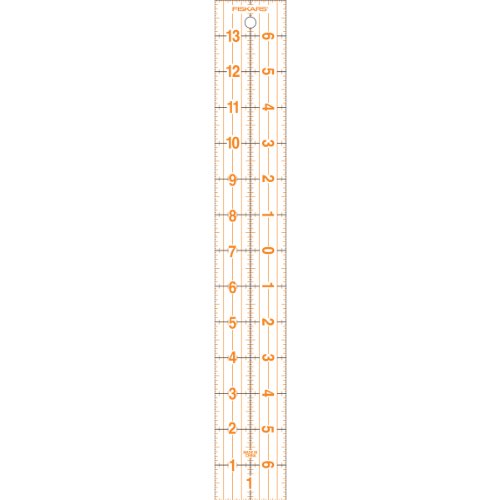
Ruler
A see-through plastic ruler will allow you to measure your work. Make sure it is short enough to fit into the hoop. Maybe it’s best to get two rulers of different sizes. It will also help you to keep your lines straight.
Thimble
A thimble is a small cup that you wear on the top of your finger. It will allow you to push a needle through fabric easier. Also, it will protect you from injuries. Thimbles have been used for more than a thousand years, so it adds a bit of a tradition to your craft. Decorated thimbles can be very valuable and they are collectibles.
Embroidery Floss
You can use all kinds of thread - cotton, wool, silk, or linen. Unlike yarn, thread is really affordable, so you can purchase a lot of it. Actually, thread and a bit of fabric are only things that you’ll have to keep buying.
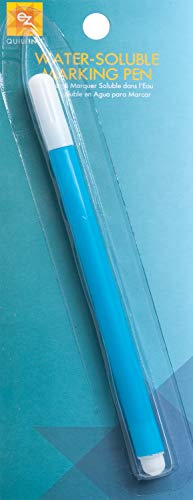
Drawing Tools
Transfer pens, chalks, pencils are commonly used to draw or trace designs on fabric. It’s pretty much personal preference. I prefer water-soluble pens, but any tool you like will do.
Fabric
As for fabric, you can choose almost anything you like. If you can pierce it with a needle, you can embroider on it. So, you can use cotton, polyester, rayon, silk, felt, linen, canvas, and more.
However, maybe some fabrics are more challenging than others. For example, embroidering on silk can turn out beautiful, but you’ll need a very sharp needle with a small eye to avoid leaving holes.
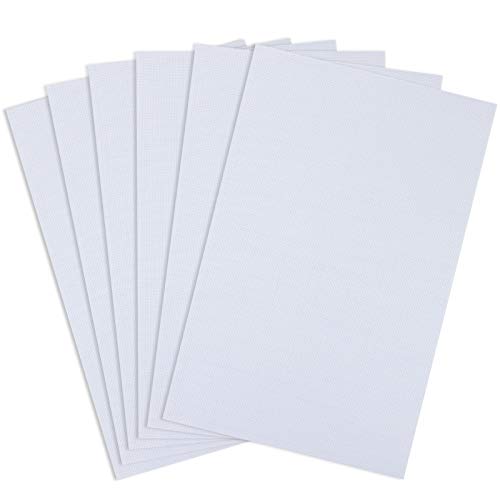
Aida cotton is usually the most popular choice for newbies. It is very affordable and easy to count stitches. It does fray easily, though, so you should finish the edges before you get to work.
Light
Strictly speaking, light is not a tool. But, bright light is essential for precision. So, make sure that you have a good source of light.
Additional Tools to Consider
As your skill improves, you’ll want to take on some more specific and challenging projects. There are several optional embroidery tools that you can live without, but they make your work easier.
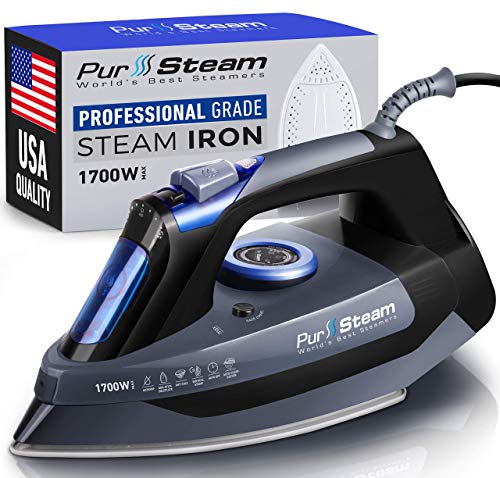
Steam Iron
It’s a general piece of advice to press your fabric before you start working. Any iron will do, but for best results use a steam iron.
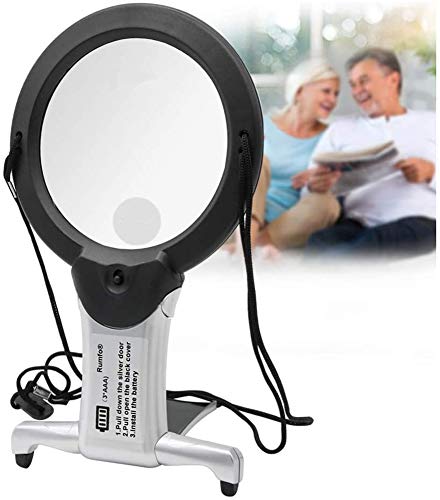
Magnifiers
I’ve mentioned that light is very important for embroidery. However, there’s another way around. You can use magnifiers to see clearly what you’re doing.
Tapestry or Chenille Needles
A tapestry needle is a little bit shorter than an embroidery needle, and it has a blunt tip and a large eye. These are good for loosely woven fabrics as they go through it without piercing it.
Chenille needles are very similar, only they have very sharp tips to penetrate closely woven fabrics. They are used for ribbon embroidery.
Pin Cushion
You are very likely to use several different needles for some projects. A pin cushion will allow you to keep them safe and at hand.
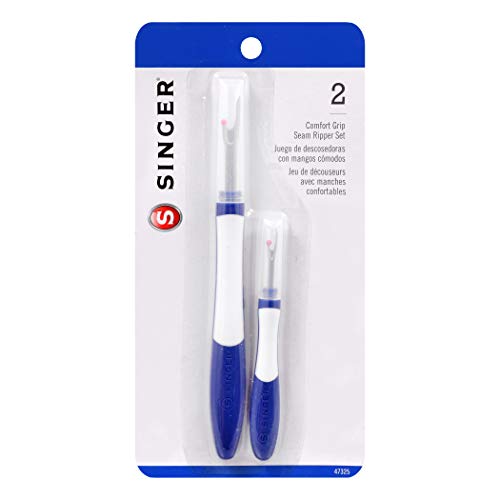
Seam Ripper
No matter how careful you are, you will make mistakes. Usually, you can use embroidery scissors to snip a few threads. However, if you’re unhappy with larger areas of your work you’ll need a seam ripper. It’s faster and safer.
Floss Bobbins
These are helpful to keep the remaining thread when you finish your project. Once the hank is undone, the thread easily gets tangled. Not with spare floss bobbins.
Final Word
Embroidery is a great hobby and you’ll be hooked sooner than you think. As for any other hobby or craft, it is a good idea to start small. This kind of approach provides more fun while learning the skill. Actually, it usually allows for faster improvements as well. Every simple project you complete, will make you feel happy and motivate you to move forward and upgrade your level.
So, keep it simple, get a couple of basic tools, and get your hands busy.


