


A body form should have your measurements and nothing more accurate than a replica of you! Is so much easier to create your garments if you have one. There’re huge advantages of making a DIY dress form having your body as template such as: perfect fit, easy to try on your garments and it will cost 50% less than buying at a store. The following steps will show you how to make a perfect replica of your body so you just have to Sew It Simple!
Although there are several instructions on how to make a DIY dress form with duct tape and filling with paper or other soft materials, I do not recommend as with time the duct tape stretches and distorts and the filling moves from one place to another (like in your pillow) so you lose your measurements. The best way is to use a ‘casting’ method that will produce a front and back shape ‘armour’ of you and then fill in with expanding liquid foam.
Supplies you will need:
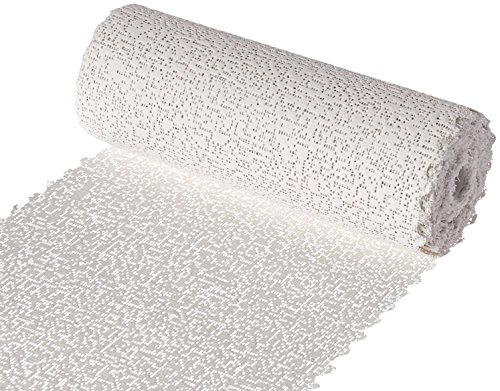
- 8 rolls of extra wide medical grade Plaster Bandage (for a medium size app.)
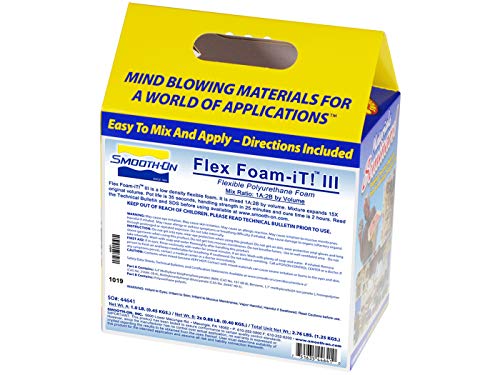
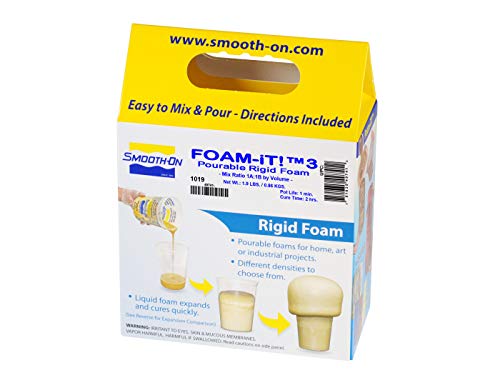
- Polyurethane expanding flexible & rigid foam. Also called part A and part B solution;
- Mixer
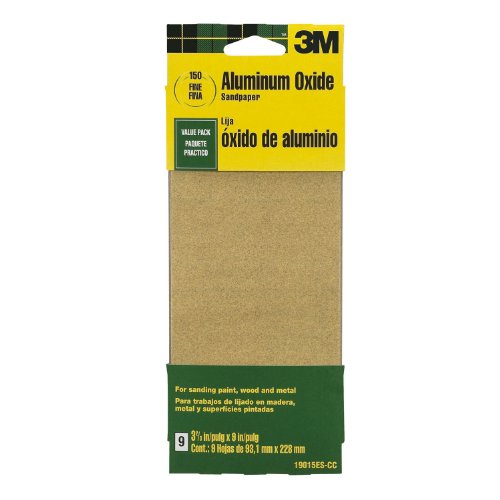
- Fine sand paper
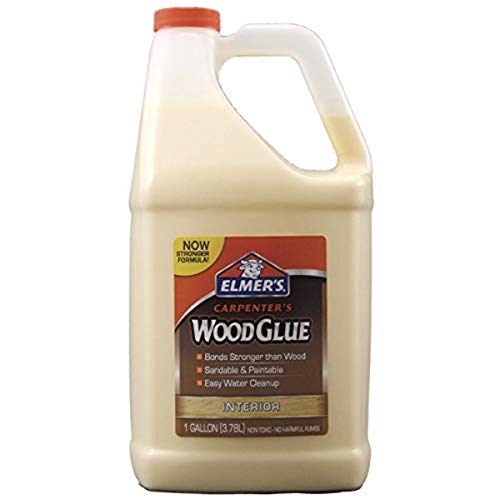
- Diluted PVA glue (woodworkers glue);
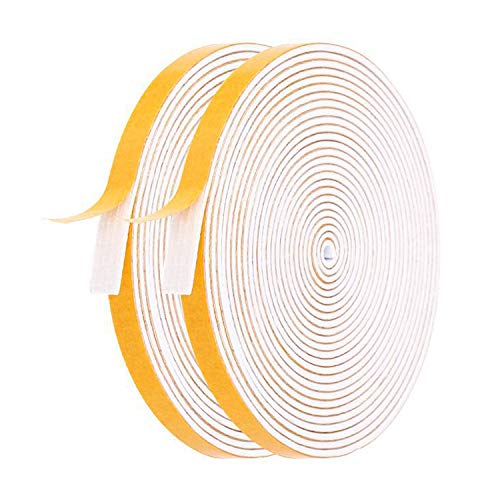
- 1 inch wide sticky backed foam tape and
- A friend to help you!
You can find them online or at a hardware shop. This method of making your own DIY dress form will be much cheaper and more accurate than any other!
Step 1
Roll cling film on your body so the casting bandage doesn’t stick your skin. You’ll have to be on an old, flat swimwear.
In the example below I chose to roll the casting bandage all around my body, but you also can mark with a pen a side line on your body, as if you would cut yourself on a vertical way; imagine that you will cover your entire front with the bandage; the length can be as long as you wish. I recommend stopping in the middle of the tights and arms.
Step 2
Stand still and following the casting instructions, ask your friend to damp/wet the bandages and place on you, contouring all your bust shape and making sure it stops on the limited marked area on the side of your body or in the example below all round your body. Save 2 rolls to glue both parts! The aim is to cover every form of your body. You will have to be patient to let it dry or use a hair dryer to speed the process. Try not to move!
When it is hard enough, detach from your body (like a baking tray!) and lay it somewhere safe. Repeat the process for the back side, making sure to stop on the marked lines, stand still and let it dry to a hard stage. Or in the example below I was brave enough to let it be wrapped all round my body but I’ve to confess that is quite restraining! So if you’re “claustrophobic” you might find this method difficult, however there’s 100% accuracy to match your figure.
As you can see I’d to cut in the middle and back to take the parts away but because I’ve rolled everything together, when cutting I just had to make sure I’d glue them in the same position. When I say glue, you just need to join both parts together and apply the remaining wet bandages making ‘one’ piece.

Step 3
Close the bottom with a cardboard and duck tape, the aim is to ‘seal’ as much as you can so the liquid foam doesn’t escape.
The you should have a perfect ‘armour’ of yourself.
Now is time for the liquid foam. you can watch videos on how to mix and handle expanding foam online to make sure you know what’s going to happen. The expanding time is extremely quick, less than 1 minute and you’ll have foam growing on a fast speed everywhere, so:
Step 4
Pour the brown part on a container and mix for about 20 seconds no stop till you form small bubbles, this will make the foam expand.
WHILE STILL MIXING THE BROWN SOLUTION, ASK SOMEONE TO CAREFULLY POUR THE OTHER PART, THE CLEAR ONE. Be prepared for the reaction so mix it close to the cavity and ready to pour inside. As soon as the clear solution is in (don’t’ stop mixing at any time), pour the mix inside the cavity and watch it grow.
Gently shake as the foam expands to fill in all cavity and avoid air bubbles.

Step 5
Let it dry for 24 hours. The dress form will be rock hard and to take the bandages off only making it wet again, so the plaster powder dissolves and you can easily unroll the body form. (I let my in the rain for a few days). But if you don’t want to wait, just get a hose pipe and spray water on it and wait for the bandages to start peeling off.
Make sure you’ve all the bandage off, let it dry and now is time to sand.
When hard, the foam can be cut and shaped as you wish, but in our project we want to make the surface smooth enough to cover with the sticky backed foam tape, not to take your measurements off so sand carefully only to make sure the surface is flat. The example below is with the bandages all off and sanded, it might seem full of cavities but don’t worry the PVA glue will help even the surface and the fabric tape will also give a much better finishing.

Step 6
Once you’re happy with the shape, then is time for the diluted PVA glue and the tape. With a sponge moisture the PVA glue and soak the dress form all over.
After dried, you’ll see that the foam is sealed and ready to be covered.
Now is time to roll the foam tape around making sure you’re covering all parts and that is firmly attached against the surface.


I’ve sewed a cover with a stretched fabric (lycra, spandex or any heavy weighted fabric).
Tah dah!!! Here it is, a replica of yourself in the form of, ahem, a DIY dress form. If you wish to mark it with a thin ribbon this will guide you when trying on your patterns.

